Retique It® · Step-by-step guide
← All instructionsFurniture & Cabinet Paint Instructions
Prep, paint and protect your furniture or cabinets.
Prepare your surface
Start with a clean surface before you paint.
Show instructionsMinimize instructions
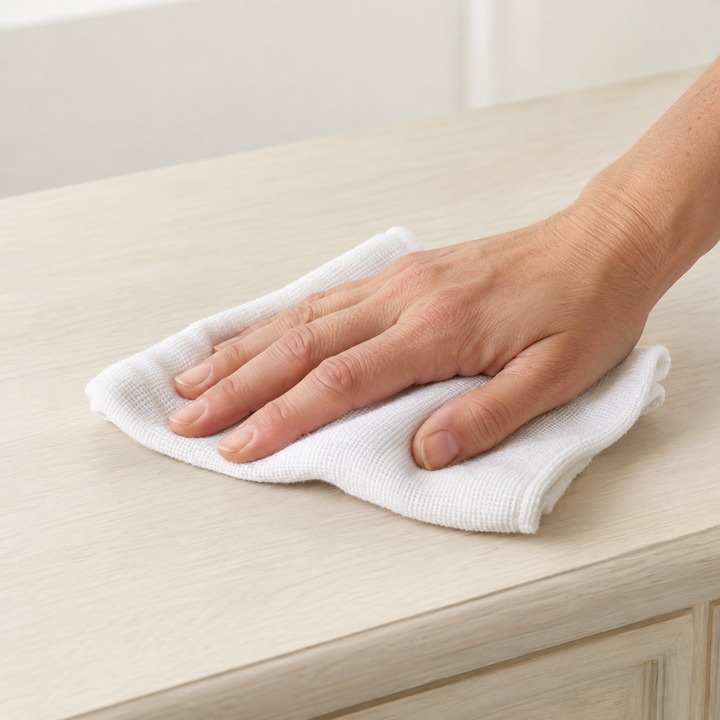
- Wash the surface with Dawn® Dish Soap and a clean white rag until the rag comes back clean. Degrease with a prepared cleaner such as Krud Kutter®, or equal parts denatured alcohol and water. Rinse and let the surface dry thoroughly.
- Lightly scuff a glossy surface with fine-grit sandpaper, then wipe away the dust with a clean dust cloth.
- Test the paint in a small, inconspicuous area to check adhesion and preview the finish before starting the full project.
- Remove hardware where practical, and protect the areas you want to keep paint-free.
- Check your container directions for any extra preparation needed for your surface or existing finish.
Not sure about a glossy, waxed or previously coated surface? Get project help before painting.
Apply your paint
Build even coverage with Furniture & Cabinet Paint.
Show instructionsMinimize instructions
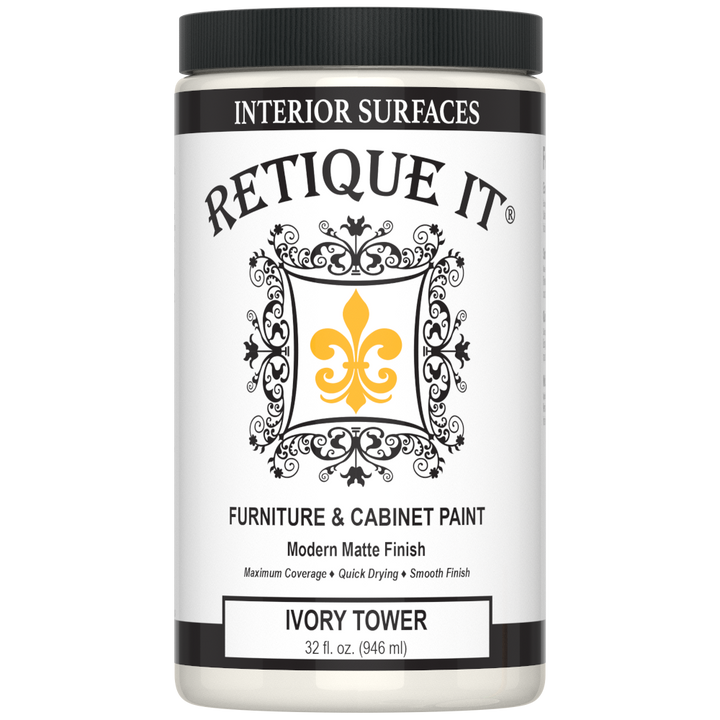
- Stir the paint thoroughly, scraping the bottom and sides until fully mixed and consistent.
- For the smooth painted finish, use a high-quality brush to apply an even coat in long, consistent strokes. Follow your container for other application methods.
- Apply 1–2 coats for coverage, allowing each coat to dry before adding the next.
- Check for drips or heavy areas as you work.
For a painted finish, follow this guide rather than the Wood’n Primer and stain steps.
Let the finish dry
Allow each coat to dry before moving to the next stage.
Show instructionsMinimize instructions
- Allow 1 hour, or up to 2 hours depending on humidity, for the paint to dry. Let each coat dry completely before recoating.
- For an extra-smooth result, lightly sand between coats if desired, then remove the dust.
- Use the drying and recoating directions on your container for your product and conditions.
- Follow the label’s cure and return-to-use directions before putting the finished piece into normal service.
Paint that feels dry may still be curing. Wait until it has fully cured before everyday use.

Protect your project & clean up
Choose the protective finish for the look you’re creating.
Show instructionsMinimize instructions
- For the smooth contemporary painted finish, seal with a suitable topcoat after the paint has dried completely.
- For a vintage wax finish, follow the clear-wax or dark-wax instructions below. Choose the method for your intended look and project, and follow the product’s compatibility directions.
- Clean your painting tools with soap and water after use.
- Keep your product container for future care and touch-up instructions.
Sealer & wax instructions
Choose sealer or wax below. Follow your product label if its directions differ.
Sealer · Tripletique & Polyacrylic
Show instructionsMinimize instructions
These directions are for Tripletique and Retique It Polyacrylic. Tripletique is an interior topcoat for demanding surfaces such as floors, stair treads, countertops and tabletops. Polyacrylic is recommended in the flipbook for cabinets, furniture and walls. Choose a coating suited to your surface and location; follow its label for compatibility and any product-specific requirements.
- Allow the paint or stain to dry completely before applying a topcoat.
- Gently stir the topcoat before and occasionally during use. Do not shake.
- Apply a thin, even coat with a high-quality brush, foam brush or applicator pad. Use long, smooth strokes in the direction of the surface or wood grain.
- Stop brushing once the finish begins to set; overworking can cause streaks or cloudiness.
- Let each coat dry completely before adding another. Multiple thin coats provide the best durability and finish.
- When using Tripletique or Retique It Polyacrylic, allow 1 hour between coats and 10 full days to cure. Follow your container if its directions differ.
- Handle gently while curing, and keep heavy objects off the surface until fully cured.
See the flipbook’s topcoat guidance on pages 24–25 and 28.
Clear furniture wax
Show instructionsMinimize instructions
- Begin with a clean, prepared surface and a smooth painted base. Let the paint dry completely.
- Use a lint-free cloth or wax brush to apply a thin, even layer of clear wax over the whole surface. A wax brush helps reach molding and details.
- Work the wax into the paint with gentle circular motions, covering the edges as well.
- After a few minutes, buff with a clean cloth to the soft, low-luster sheen you want.
Retique It furniture waxes are oil based. Work in a well-ventilated area, avoid prolonged exposure to fumes during application and drying, and store safely away from children and flames. Follow the container’s safety, drying and care directions.
See the flipbook’s clear-wax method on page 19.
Dark furniture wax · antiquing
Show instructionsMinimize instructions
- Start with a smooth painted base and let it dry completely.
- Apply clear wax first to control how much dark wax adheres.
- Apply dark wax sparingly with a cloth or brush, concentrating on corners, crevices and details.
- Blend and wipe back excess. Build depth gradually where you want more shading.
- For the final blend, work a small amount of clear wax over the surface with a soft cloth or brush, then wipe back with a clean cotton cloth. This lifts excess dark wax from flat areas while leaving it in the details.
Retique It furniture waxes are oil based. Work in a well-ventilated area, avoid prolonged exposure to fumes during application and drying, and store safely away from children and flames. Follow the container’s safety, drying and care directions.
See the flipbook’s dark-wax method on page 21.
Explore the paint color & project guide
Select Open book here to load the interactive guide. Use the arrows to turn pages, or zoom for a closer look.Use the arrows or swipe to turn pages. Open the full reader for larger text. Scroll beside the book to move down the page.
Loading your paint guide…
Need help with your project?
Ask us about your surface, paint or protective finish before your next step.